Introduction
GitHub Actions is a powerful continuous integration and deployment (CI/CD) tool provided by GitHub. It allows developers to automate software workflows and build, test, and deploy code changes from within the GitHub platform.
Azure Container Registry is a fully managed, private container registry service provided by Microsoft Azure. It allows users to securely store and manage their Docker container images, and also provides features for image management, access control, and automation.
Docker image is a lightweight, standalone, and executable package that contains everything needed to run a software application, including the code, runtime environment, system tools, libraries, and settings. Docker images are built from a set of instructions called a Dockerfile, which defines the steps needed to create the image.
Prerequisites
- Required GitHub repository and azure container registry access.
- Basic knowledge of YAML language.
In this post, We will show you how to create GitHub action’s workflow to build and push docker image to azure container registry using GitHub Action.
Step 1: Creating Dockerfile
We need to create simple Dockerfile to build docker image and push on Azure Container Registry, Use the following command for the same.
To create Dockerfile.
nano DockerfilePaste the following set of commands.
FROM ubuntu:16.04
RUN apt-get update && apt-get upgrade -y
RUN apt-get install apache2 -y
RUN rm /var/www/html/index.html
RUN echo "Hello DevOpstricks" > /var/www/html/index.html
EXPOSE 80
CMD ["/usr/sbin/apache2ctl", "-D", "FOREGROUND"]
Save and push in Git repository.
Step 2: Configure Secret Variables
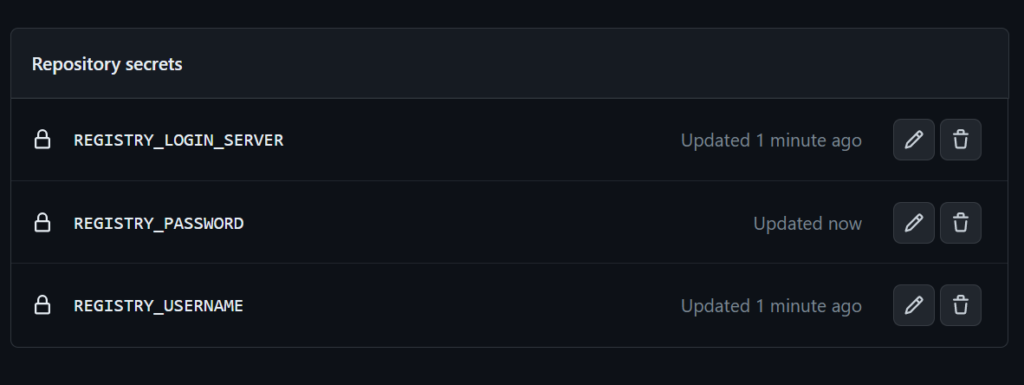
We need to the following secrets from the Azure Container Registry that we will use the GitHub action’s secrets variable.
Collect the following Creds from Azure container registry.
- REGISTRY_LOGIN_SERVER
- REGISTRY_USERNAME
- REGISTRY_PASSWORD
Go to the Setting tab and click on Secrets and variables button on left side, and the click on Action button.
and Create and update the Azure Container registry Creds over their.
Step 3: Creating Build and Push Workflow
We are good to create build and push the Docker image to the Azure Container registry using GitHub Action workflow.
Go to the Action tab.
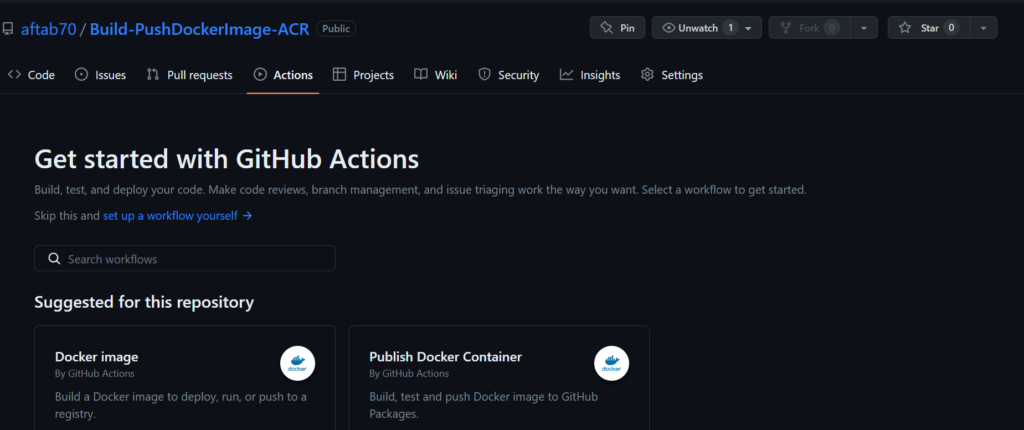
Click on set up a workflow yourself button.
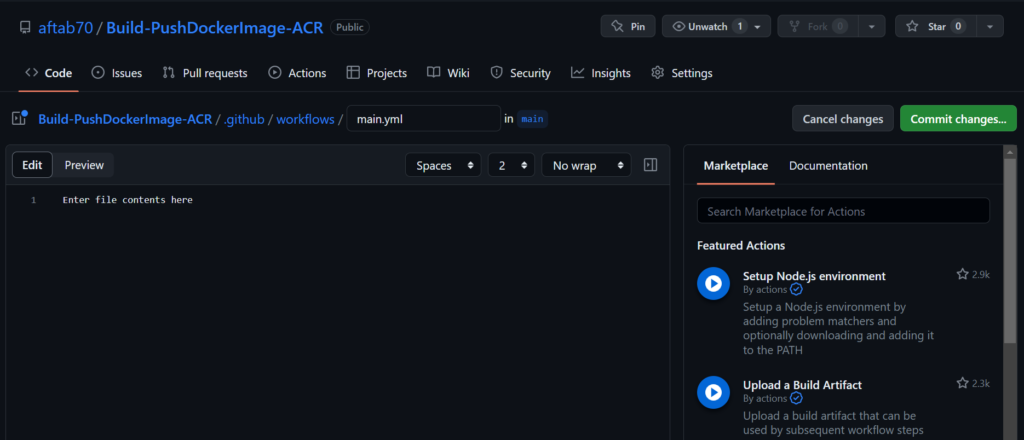
Now we need to the paste the following yaml configuration.
# This is a basic workflow to help you get started with Actions

name: CI

# Controls when the workflow will run
on:
  # Triggers the workflow on push or pull request events but only for the "master" branch
  push:
    branches: [ "master" ]
  pull_request:
    branches: [ "master" ]

  # Allows you to run this workflow manually from the Actions tab
  workflow_dispatch:

# A workflow run is made up of one or more jobs that can run sequentially or in parallel
jobs:
  # This workflow contains a single job called "build"
  build:
    # The type of runner that the job will run on
    runs-on: ubuntu-latest

    # Steps represent a sequence of tasks that will be executed as part of the job
    steps:
      # Checks-out your repository under $GITHUB_WORKSPACE, so your job can access it
      - uses: actions/checkout@v3

      - name: 'Docker Login'
        uses: azure/docker-login@v1
        with:
          login-server: ${{ secrets.REGISTRY_LOGIN_SERVER }}
          username: ${{ secrets.REGISTRY_USERNAME }}
          password: ${{ secrets.REGISTRY_PASSWORD }}

      -  name: Build the frontend image and push it to ACR
         uses: docker/build-push-action@v2
         with:
          push: true
          tags: ${{ secrets.REGISTRY_LOGIN_SERVER }}/myapache:${{ github.run_number }}
          file: Dockerfile
Click on Commit Changes button.
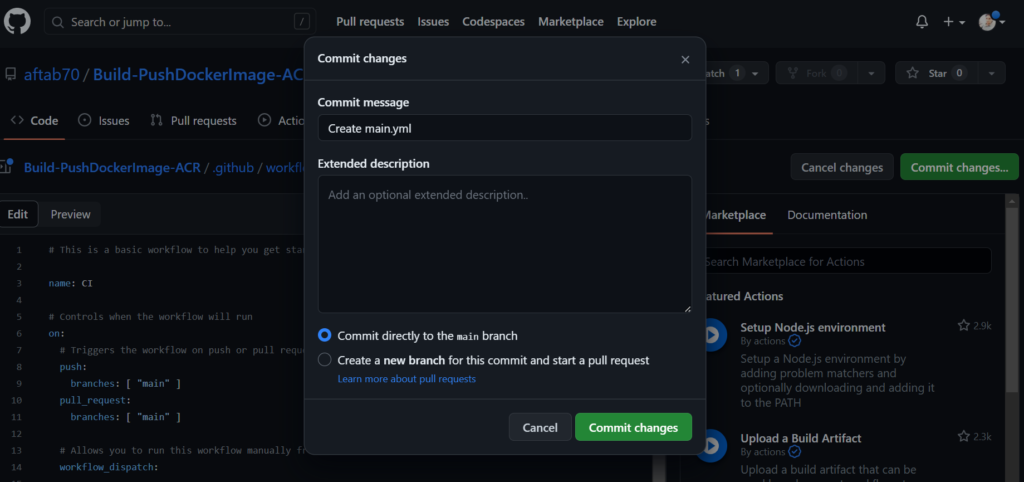
Click on Action tab and we can see that our Job is running state like this.

after execution of the workflow, We can see that status is completed showing status button green.

Lets check the all the workflow sub tasks, Click on the workflow run button.
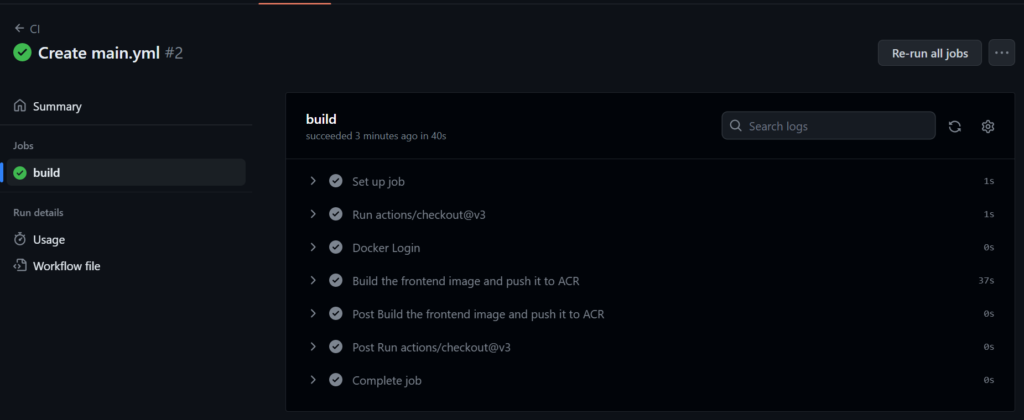
Step 4: Validate Docker Image in ACR
We need to go to the Azure Container Registry and click on repository button to see the docker images.

Click here to get more article on GitHub action.
Conclusion
We have successfully Build and push the Docker image to ACR with GitHub Action , If you still have questions, please post them in the comments section below.

Simple and easy steps.
Awesome, Keep writing more.
Awesome 🙂
very interesting article I really like it, thanks for sharing
Thanks.
Supreb.
aweosme.
Great work.
cool.
Superb.
awesome.
Great work.
Clean steps.
Can you write more information.
Usefull information.
Excellent, Keep writing more.
Superb.