Introduction
Sonatype Nexus 3 is an open source repository manager used to store and manage software artifacts. It provides a central location to store and manage software components and their dependencies, making it easier to manage and distribute software packages within an organization.
Prerequisites
- Minimum 2 core CPU and 4 GB memory required.
- Basic knowledge of Docker.
- Basic knowledge of Linux commands.
- Up and running Docker.
In this post, We will show you how to deploy nexus docker container.
Step 1: Pull Nexus Docker Image
We need to pull the official docker image from Docker Hub by using given command.
sudo docker pull sonatype/nexus3
Step 2: Verify the Nexus Docker Image
Lets verify the nexus docker image by executing the given command.
sudo docker images
Step 3: Deploy the Nexus Docker Container
We are good to deploy the nexus docker images by using following commands.
Create a directory for to store the nexus data out side the docker container.
sudo mkdir nexus-dataTo deploy the nexus docker container.
docker run -d -p 8081:8081 --name nexus -v nexus-data:/nexus-data sonatype/nexus3To verify the nexus’s container.
sudo docker ps 
Step 4: Access Nexus Portal
Once the nexus container got deployed So then We can access the nexus portal with localhost:8081 or Docker instance IP http://IP-Address:8081
Note: If your docker machine running inside the firewall So then you need to open the port 8081 port, in order to access the nexus repository server.

Setup your Admin’s user password, Your admin user password is located in /nexus-data/admin.password on the server.
sudo docker exec -it <Container_id> cat /nexus-data/admin.passwordYou need to replace the container id with above command to get the default password of nexus.

You should get option to update your own password for admin user.
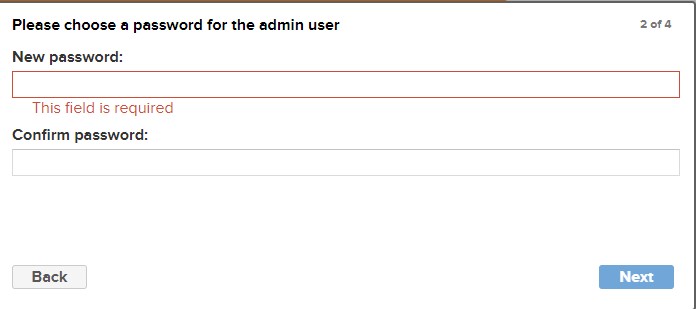
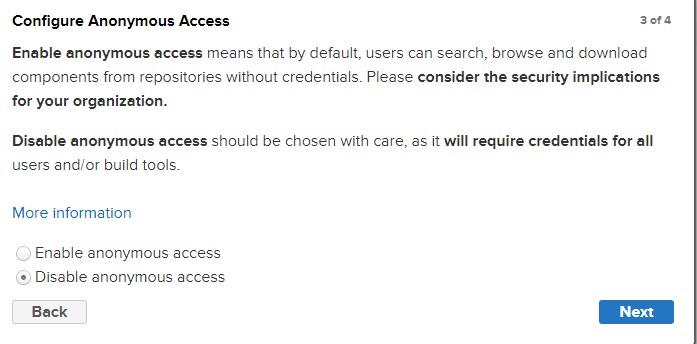
after this you should get Configure Anonymous Access setting, You should choose the anonymous access setting, In my case i am choosing Disable anonymous access.
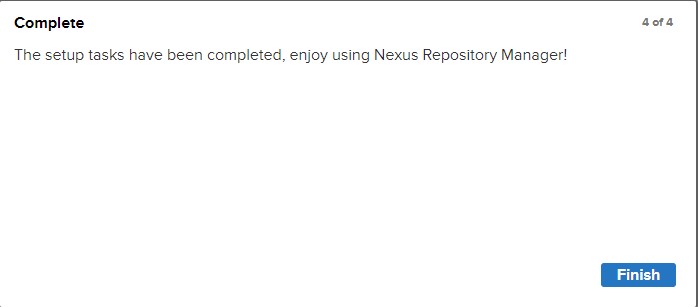
And then you should get finish message on your web browse like this.
Getting on nexus main dashboard like this.
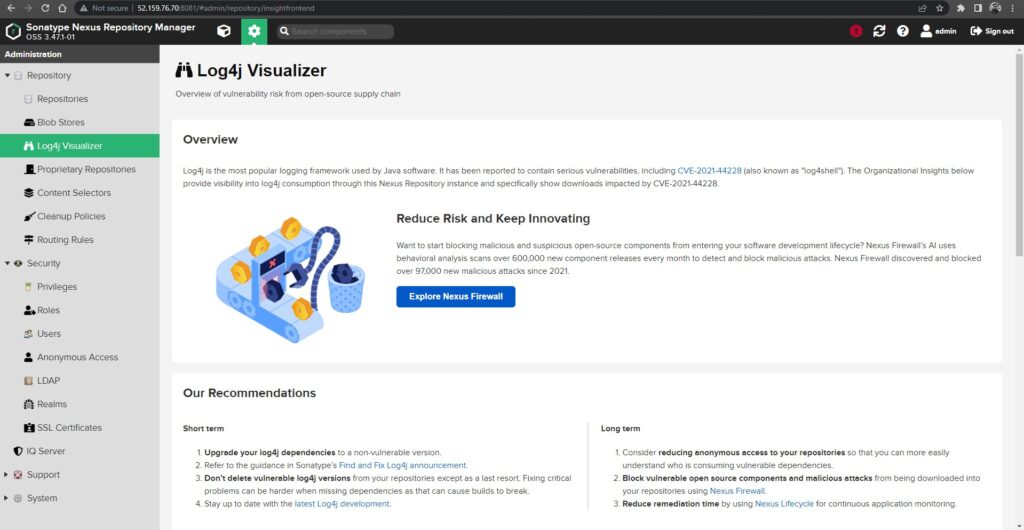
Step 5: Creating Maven Repository
We are going to cover the maven project and uploading the maven artifacts in nexus repository.
Follow the given steps to create the nexus’s maven repository.
Click on repositories button.
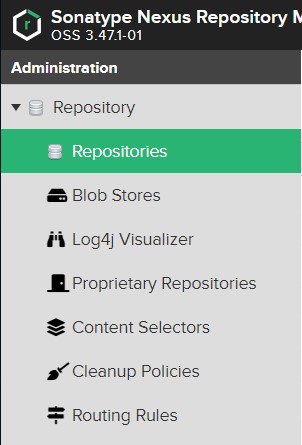
Click on Create repository button.

Search and click maven2 (hosted) repo.

Type your maven project nexus repo name, This name should be unique, In my case i am using example and
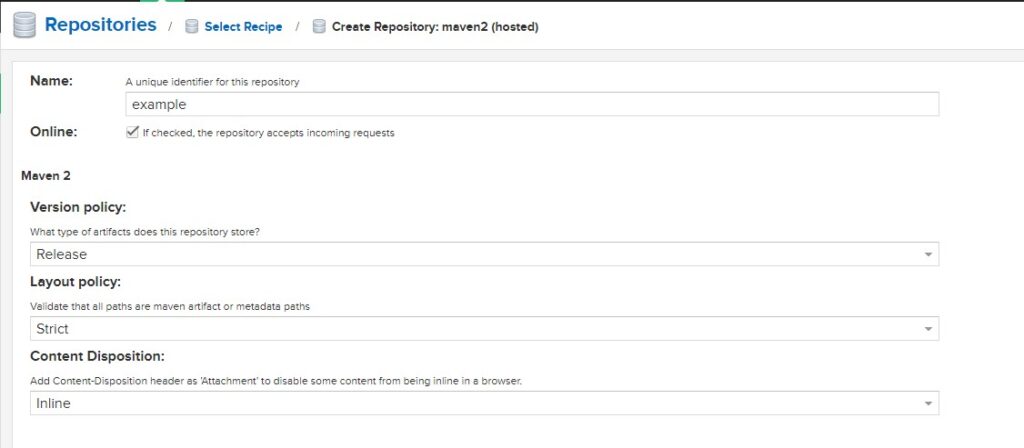
and you can leave the other setting on default and click on Create repository button in the end of the web page.

Verify the created nexus repository, In the repository section you should able to see the newly created repo.

Conclusion
We have successfully deployed nexus docker container and configure bind mount on ubuntu 22.04 LTS, If you still have questions, please post them in the comments section below.

Thank you verify much for this information, This is what i was looking for.
Thanks for the compliment on it.
Its solved my issue, Thank you.
Thanks.
Awesome…
Thanks.
Easy to understand, Keep writing more articles
Thank you.
This is clean post and get understanding of each command.
Thanks for appreciating our work.
Excellent.
Thanks.
My issue got resolved, Thanks, Keep writing the posts.
Thanks.
very easy steps, Keep writing more articles.